
Garage Epoxy Flooring in San Francisco
Thinking about coating your garage floor? This page walks the whole journey — what your current slab means for the project, how the finishes look, how the concrete is prepared, how a flake system is built layer by layer, and when you get your garage back. It is written from how installers actually work; the specifics for your floor come from an estimate, not a website.
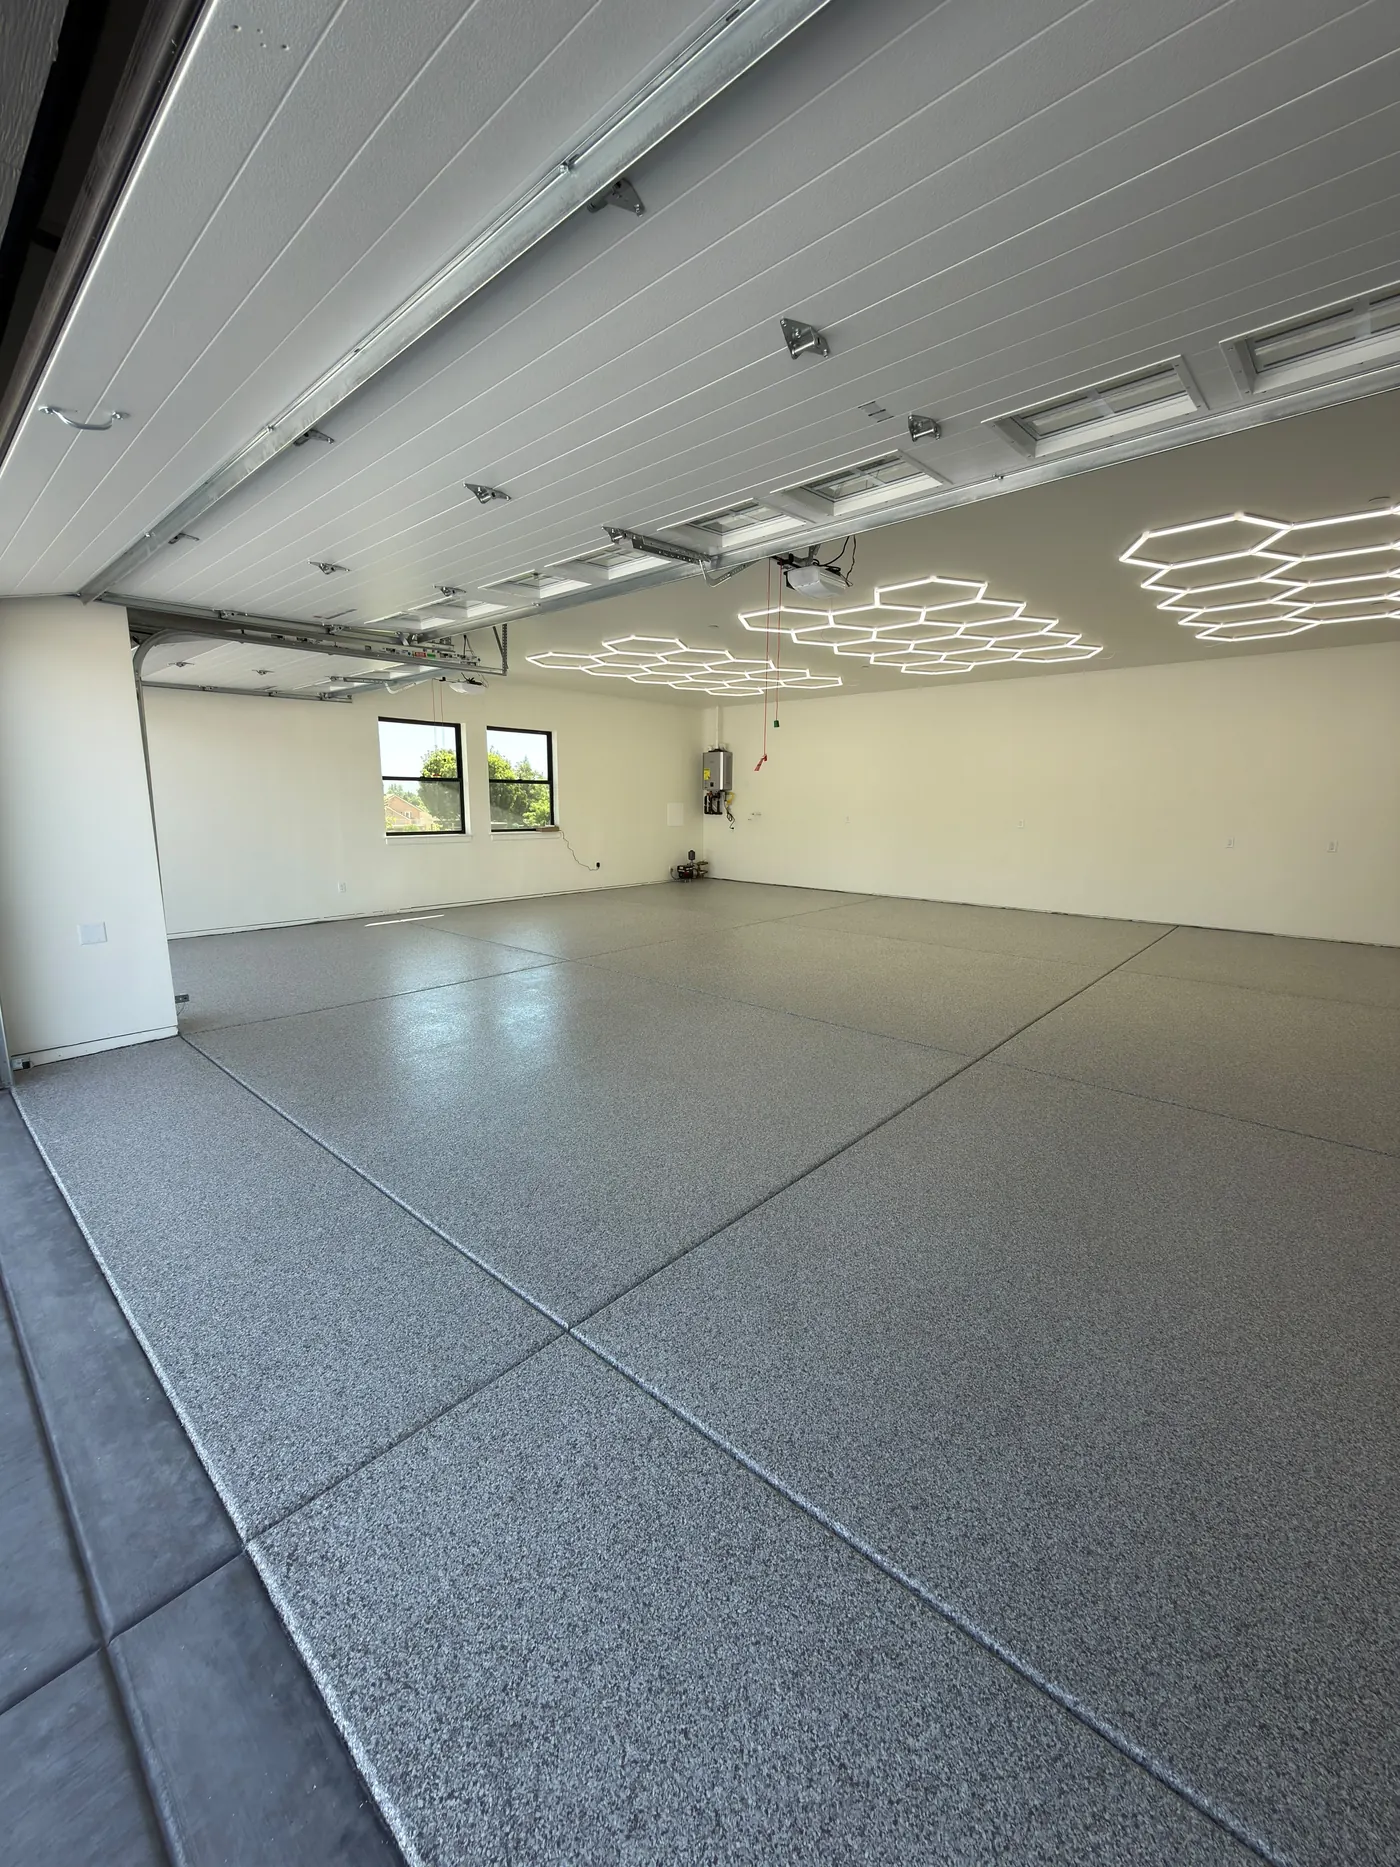
Can my existing floor be coated?
Most garage slabs can take a coating. What is on the slab today sets the scope.
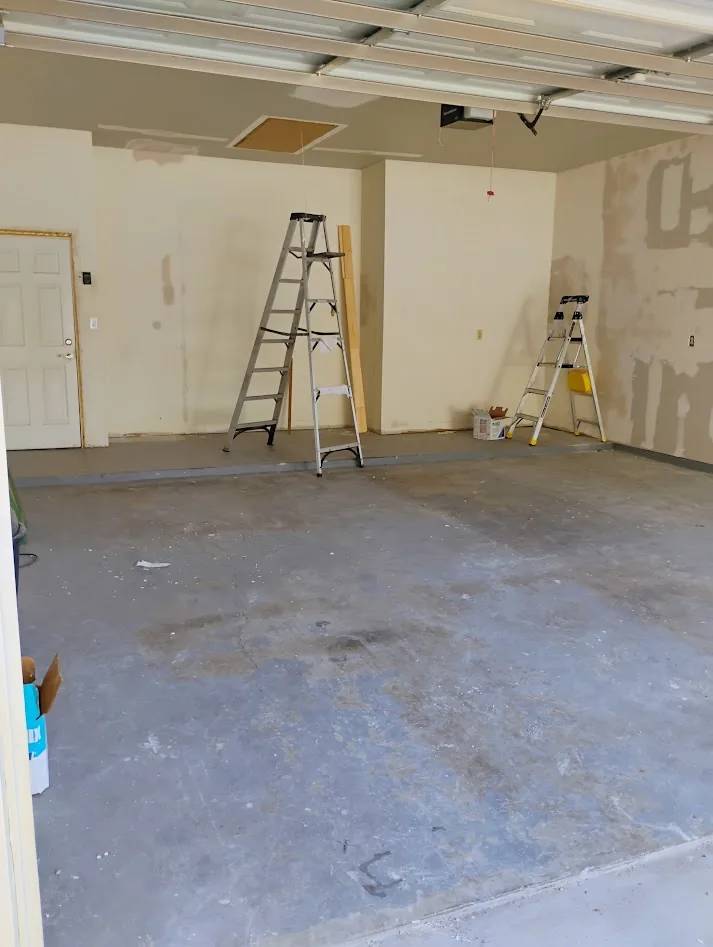
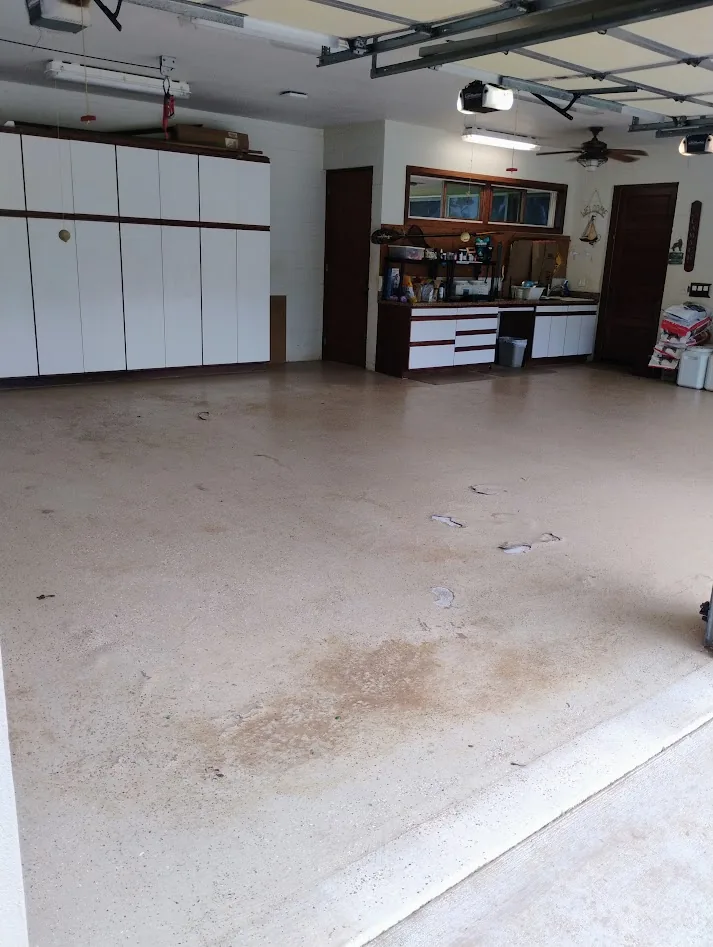
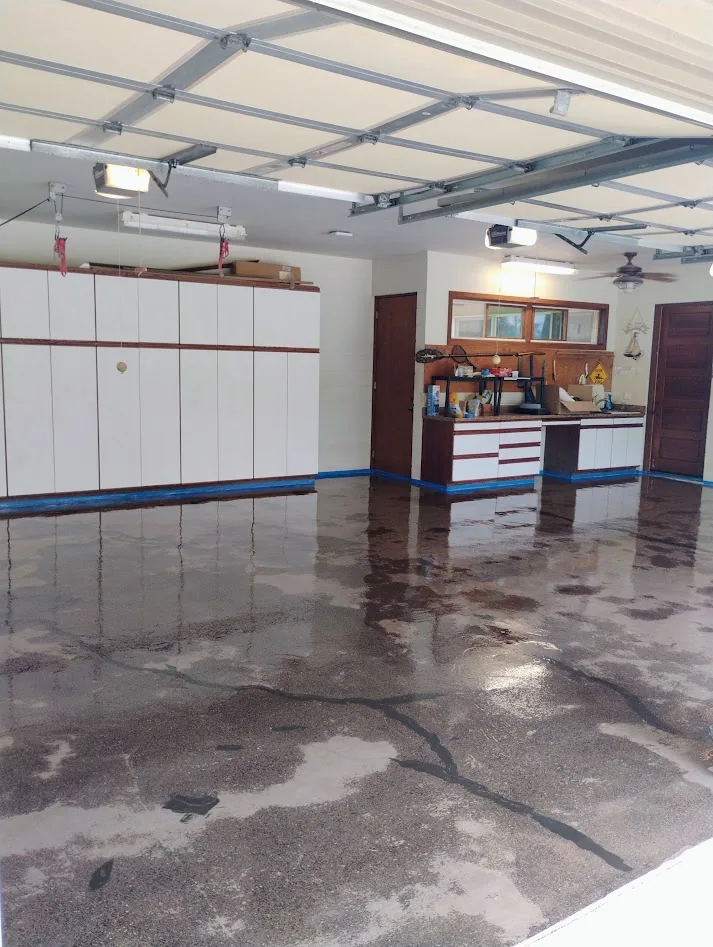
Garages arrive in five flavors: bare concrete, a sound older coating, peeling paint or epoxy, visible cracks, or a finish nobody can identify. None of these rules out a coating by itself — they change what has to happen first.
Photos tell the estimator a lot: the size and layout, the sheen of whatever is on the slab now, where peeling concentrates, and whether the lines in the floor are straight control joints or wandering cracks. What photos cannot settle is how well an old coating is stuck, how sound the concrete is underneath, or whether moisture is moving through the slab — that is on-site work, and sometimes testing.
If your quote includes line items for removing a failed coating, grinding, crack repair, or moisture evaluation, that is the estimate reflecting your slab rather than padding. A floor that needs none of it gets a simpler scope.
A useful starting brief
- Approximate size — square feet, or just “two-car garage”.
- One wide photo taken from the garage door, floor filling the frame.
- One close-up of the worst spot: peeling, a crack, or a stain.
That is enough for a useful first conversation and a sharper site visit.
What will my finished floor look like?
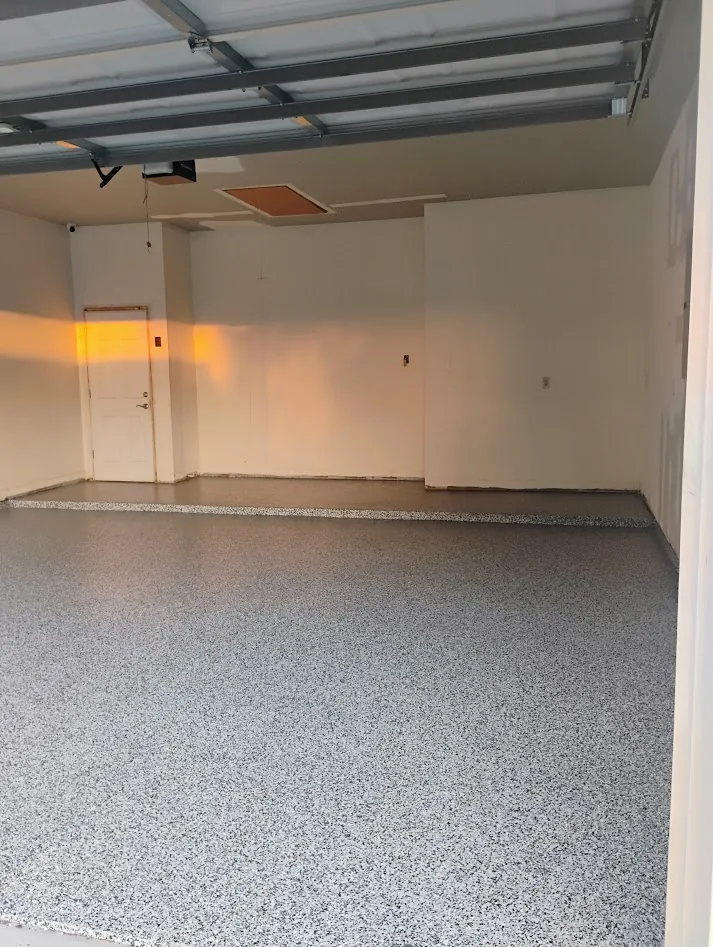
Blend, chip size, and texture decide how the floor reads from standing height and under your hand.
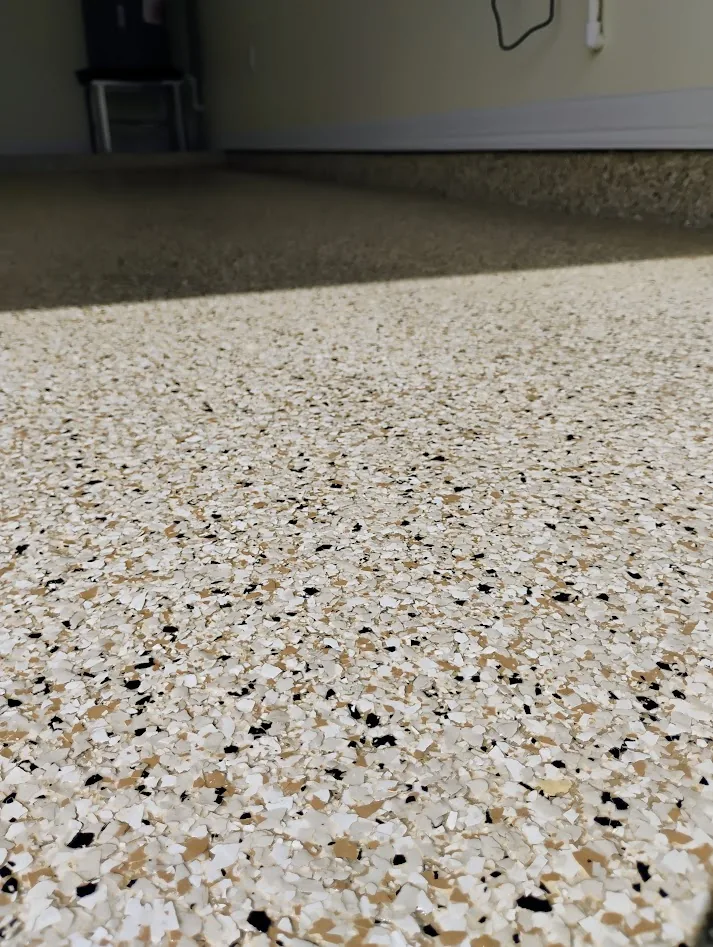
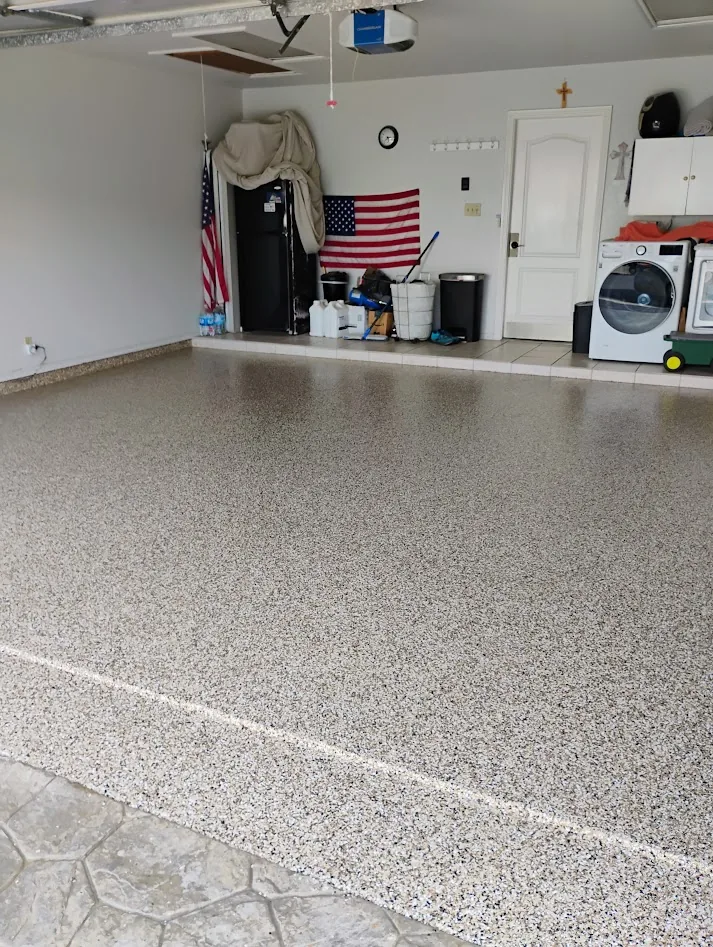
Flake chips come in blends — grays, tans, bolder mixes — and two sizes of decision. Chip size: smaller flake reads as a fine, even speckle from standing distance; larger flake reads bolder, closer to terrazzo. Contrast: busier, higher-contrast blends are the most forgiving floors made — dust, tire marks, and old repairs disappear into the pattern. Texture: more clear coat fills the surface smoother for easy mopping; less fill leaves more grip. Your installer balances the two for how you use the garage.
Explore Signature flake blends.
Nine flake blends from the TORGINOL Signature collection to explore for your garage. Select a blend for a closer look.
Screen colors can vary. Confirm your choice with a physical sample. Blends are shown as finish choices to explore, from the TORGINOL Signature collection color card — availability for your project is confirmed with your estimate.

Pick a blend above and it rides along as the finish preference in your estimate brief — you can change it there.
What do I need to do before the crew arrives?
A coating project moves faster when the handoff into the garage is agreed in advance.
Homeowner checklist
- Agree who moves stored items, shelving, and appliances — you, or the crew for an agreed scope.
- Decide where vehicles will live during the work and the cure window.
- Confirm what access the crew needs: driveway space, power, water, and how they get in.
- Agree the date the garage needs to be empty — and what “empty” includes.
Before work begins, the estimator should confirm two plans with you in plain terms: the preparation plan — what is being removed, repaired, or tested before any color goes down — and the return-to-use plan, meaning when you can expect to walk, restock, and park. Getting both in writing up front is normal, not pushy.
How is the concrete prepared?
Everything that makes a coating last happens before the first drop of color.
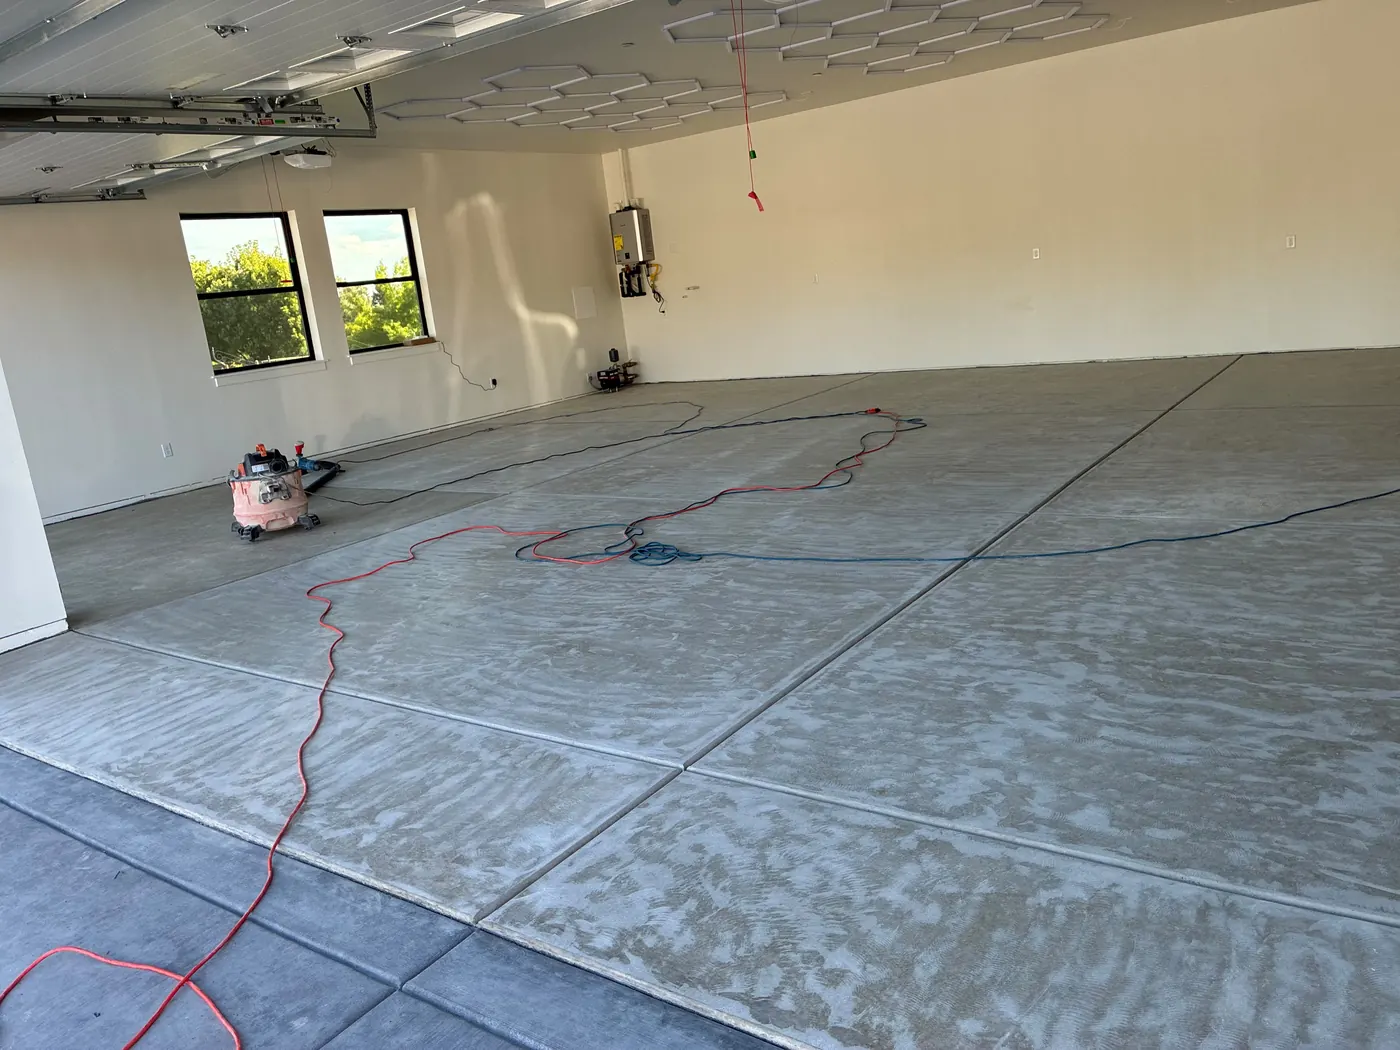
Preparation starts with an honest read of the surface: what is on the slab, whether it is stuck, and what is hiding under it. Material that cannot stay — failed paint, old sealers, oil contamination, weak surface paste — comes off. The sound concrete underneath is then mechanically profiled, typically by grinding or similar means, until it has the texture the specified system needs to grip. A rough weak surface is still a weak surface, which is why removal and profiling are separate jobs.
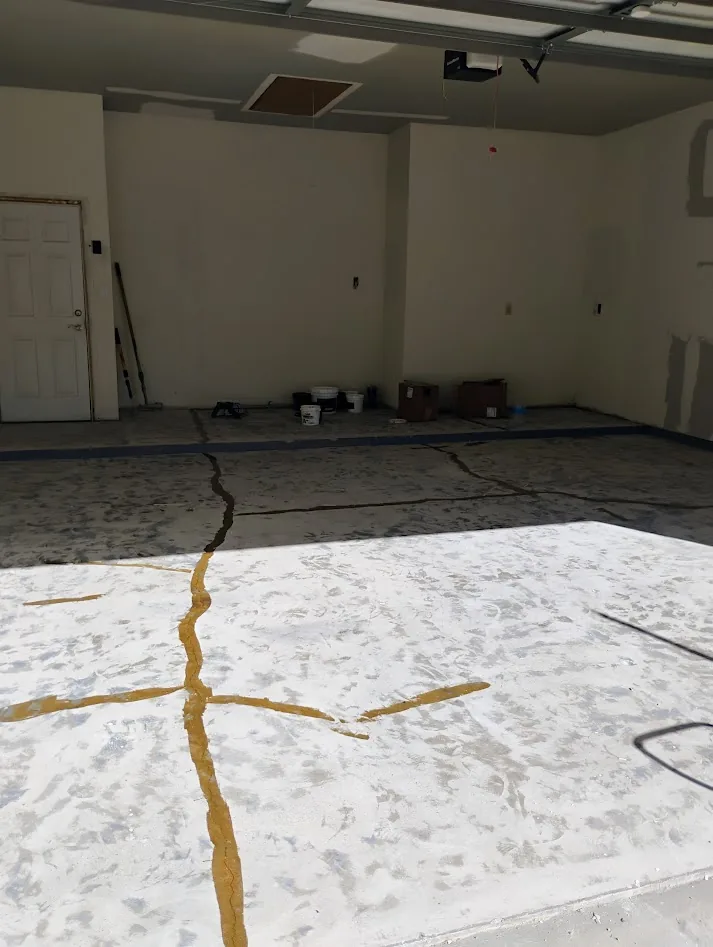
Defects get sorted, not blanket-filled. Random cracks are repaired with compatible materials — and an honest installer tells you a repaired crack can stay faintly visible and never promises it cannot return. Straight control joints are different: they are designed to move, and the installer decides per project whether each is filled or honored as a visible line.
Where conditions warrant — a slab with no vapor barrier, past dampness, a history of coatings letting go — moisture evaluation comes before coating. Concrete can hold and transmit moisture while looking bone dry, and “it looks dry” is not an acceptance standard any system manufacturer recognizes.
How does the flake finish go down?
A flake floor is not paint — it is a stack of layers, each with one job.
- Prepared concrete. Ground to profile, repaired, vacuumed clean.
- Primer — when the specified system calls for one. It wets into the open concrete and anchors everything above.
- Pigmented receiving coat. The wet color layer that the flake lands in. Its color shows between chips.
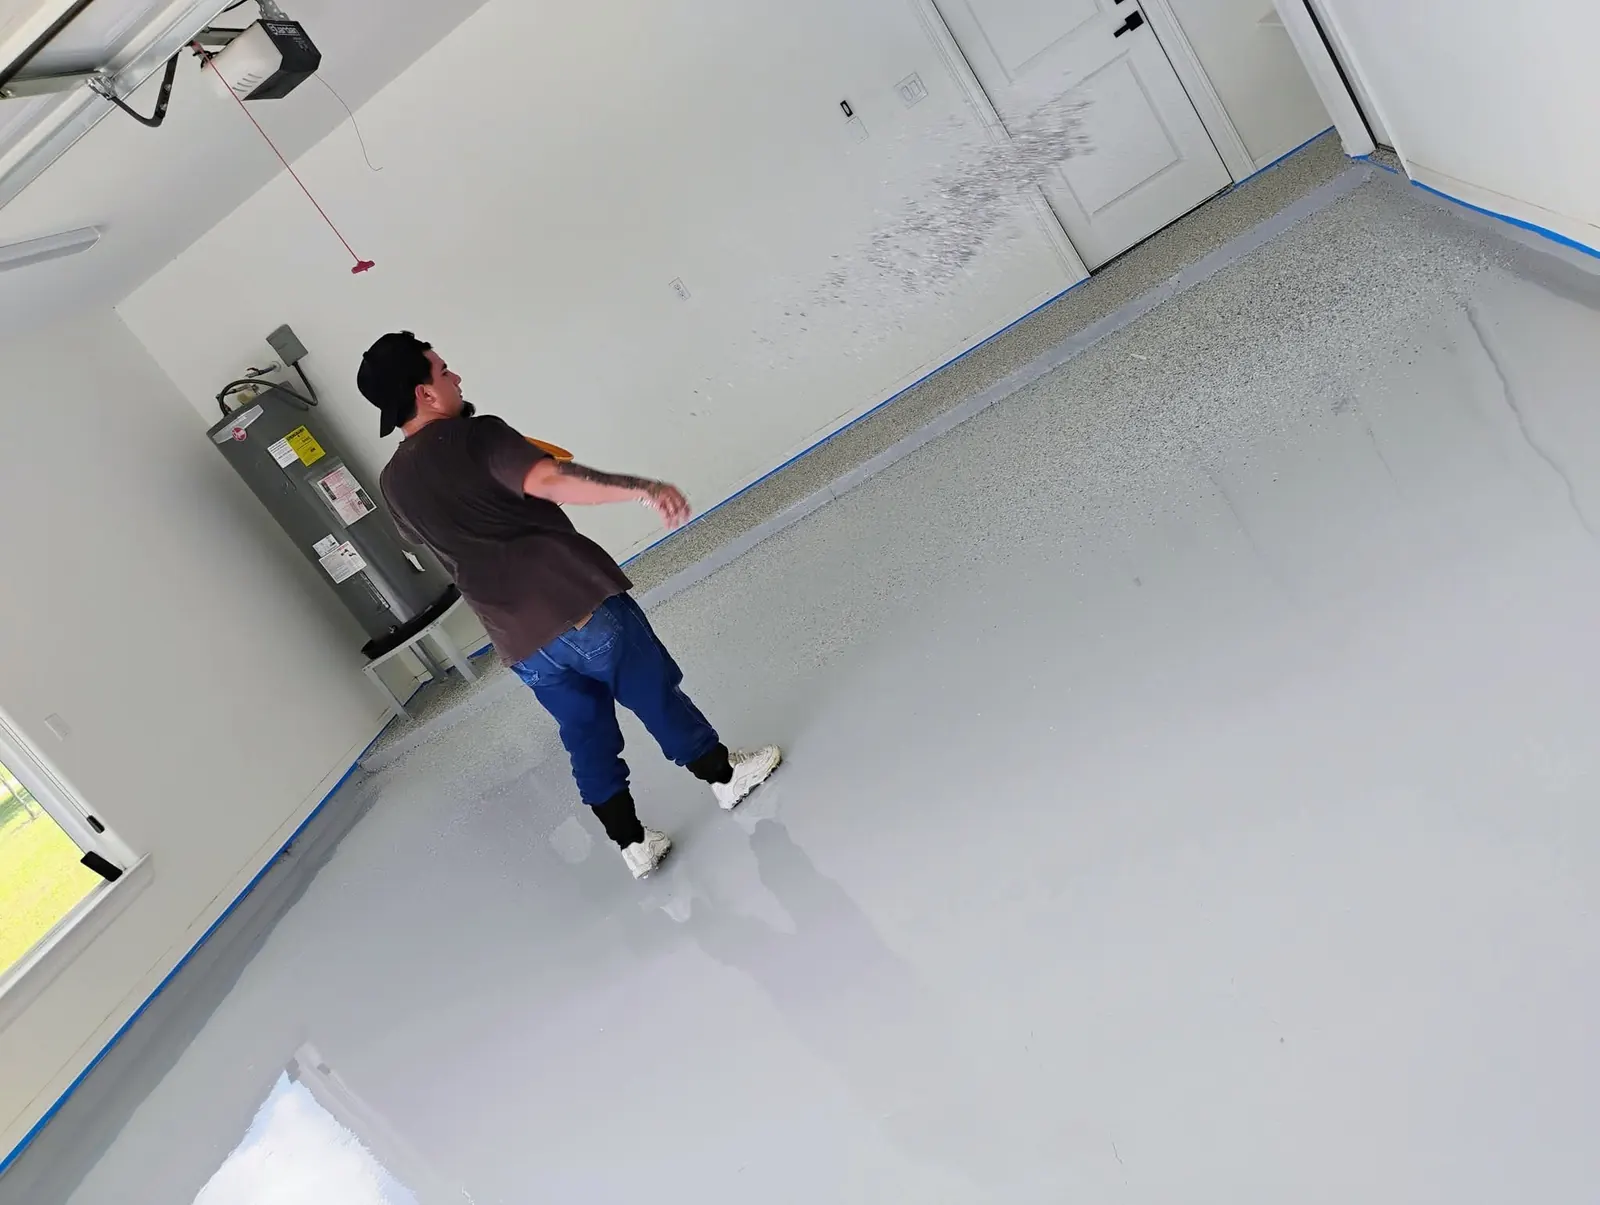
- Flake broadcast. Chips are thrown into the wet coat — to full coverage for the classic look — and left to lock in as it cures.
- Protective topcoat. Loose flake is scraped and recovered first, then the clear wear layer goes over everything. Its chemistry — epoxy, polyurethane, or polyaspartic — comes from the specified product, and some systems add a clear grout coat before it.
A typical full-broadcast sequence. The selected product system and your slab assessment determine the actual stack — ask for the named layer stack in writing with your quote.
When can I walk on it, move things back, and park?
Three different questions with three different answers — and they belong in writing.
Walking
Foot traffic comes first. How soon depends on the products used and the temperature during cure — hours for some systems, longer for others.
Moving things back
Shelving, appliances, and storage come later than feet. Dragging a loaded cabinet across a floor that walks fine can still mark it.
Parking
Vehicles come last. Tires concentrate weight and heat, so the parking milestone is the one to respect most literally.
There is no honest universal number for these milestones — they depend on the chemistry of each layer, the temperatures during the job, and the system as a whole. Fast-return products exist, but the timing that matters is the one your installer gives you for your floor. At handoff you should receive three things: return-to-use timing for each milestone in writing, cleaning and care instructions for the system installed, and a direct contact for any concern that shows up after the crew leaves.
Ready when you are.
Approximate dimensions, one wide photo, and one close-up are a useful starting point — the estimator takes it from there. A member of the SF Epoxy Flooring team reviews every request.